Ultimate Guide to Creating GIFs from Videos
GIFs are everywhere - social media, emails, and even work presentations. Why? They’re quick, engaging, and universally compatible. Here’s how you can create amazing GIFs from videos:
- What’s a GIF? A short, soundless animation loop made from 256 colors, perfect for sharing.
- Why convert videos to GIFs? Smaller file sizes, faster sharing, and compatibility across platforms.
- How to make a GIF: Use tools like Pimosa to trim, edit, and optimize videos. Add text, effects, and ensure smooth loops.
- Platform tips: Keep GIFs under 6 seconds and optimized for platforms like Twitter, Discord, and email.
Want to create GIFs that stand out? Start with high-quality video, focus on one clear action, and keep file sizes small. Tools like Pimosa make it simple to turn your videos into eye-catching GIFs. Ready to get started? Let’s dive in!
How to Make a GIF From Video - Video to GIF Tutorial (UPDATED)
Preparing Your Video for Conversion
Creating a standout GIF starts with choosing the right video. This step is crucial when using Pimosa to turn your clip into a shareable animation. With billions of GIFs shared daily, the quality of your source material can determine whether your final product is memorable or quickly forgotten.
Choosing the Right Video Clip
The sweet spot for GIF length is 3–6 seconds. This duration is perfect for capturing meaningful action while keeping file sizes manageable and holding the viewer's attention. Your video clip should tell a complete story in just a few seconds. Look for moments where something specific happens - like a dramatic reaction, a quick product demo, or a visually striking element that grabs attention. The action should be clear and engaging, even without extra context.
To ensure clarity, shoot your video in at least 1080p resolution, though the best output for GIFs is 480p, with 720p as the upper limit.
Pay close attention to how your clip will loop. The best GIFs have smooth, continuous animations where the end blends seamlessly back into the beginning. Test your clip on a loop to make sure the transitions feel natural.
Dynamic movement is essential. Static shots rarely make an impact, but clips with noticeable motion, changing facial expressions, or other dynamic elements tend to captivate viewers through multiple loops.
Once you've found a clip that’s dynamic and loops seamlessly, you’re ready to refine it for optimal GIF performance.
Editing Your Video Before Conversion
After selecting the perfect clip, a few simple edits can make it even better. Trim the video to a length between 2–15 seconds, crop to highlight the key action, and adjust the speed to enhance the impact. Cropping not only focuses attention on the most important parts but also reduces file size by cutting out unnecessary background elements.
Adding minimal text can provide context, especially since GIFs don’t include sound. Keep the text concise and well-placed to avoid cluttering the frame.
Frame rate plays a big role in both quality and file size. GIPHY recommends keeping your total frame count under 200 - ideally below 100 - to maintain quality while avoiding oversized files.
When it comes to file formats, stick to MP4, MOV, MPEG, MKV, or WEBM for smooth conversion to GIF. Using these formats can help you sidestep potential compatibility issues.
Lastly, consider platform-specific constraints. For example, GIPHY limits GIFs to 6 seconds and 8MB or less. Keeping these limitations in mind during editing can save you time and ensure your GIF works well wherever it’s shared.
Focus on creating a seamless loop that tells a complete story, and you’ll have a GIF that’s ready to grab attention.
How to Create GIFs with Pimosa
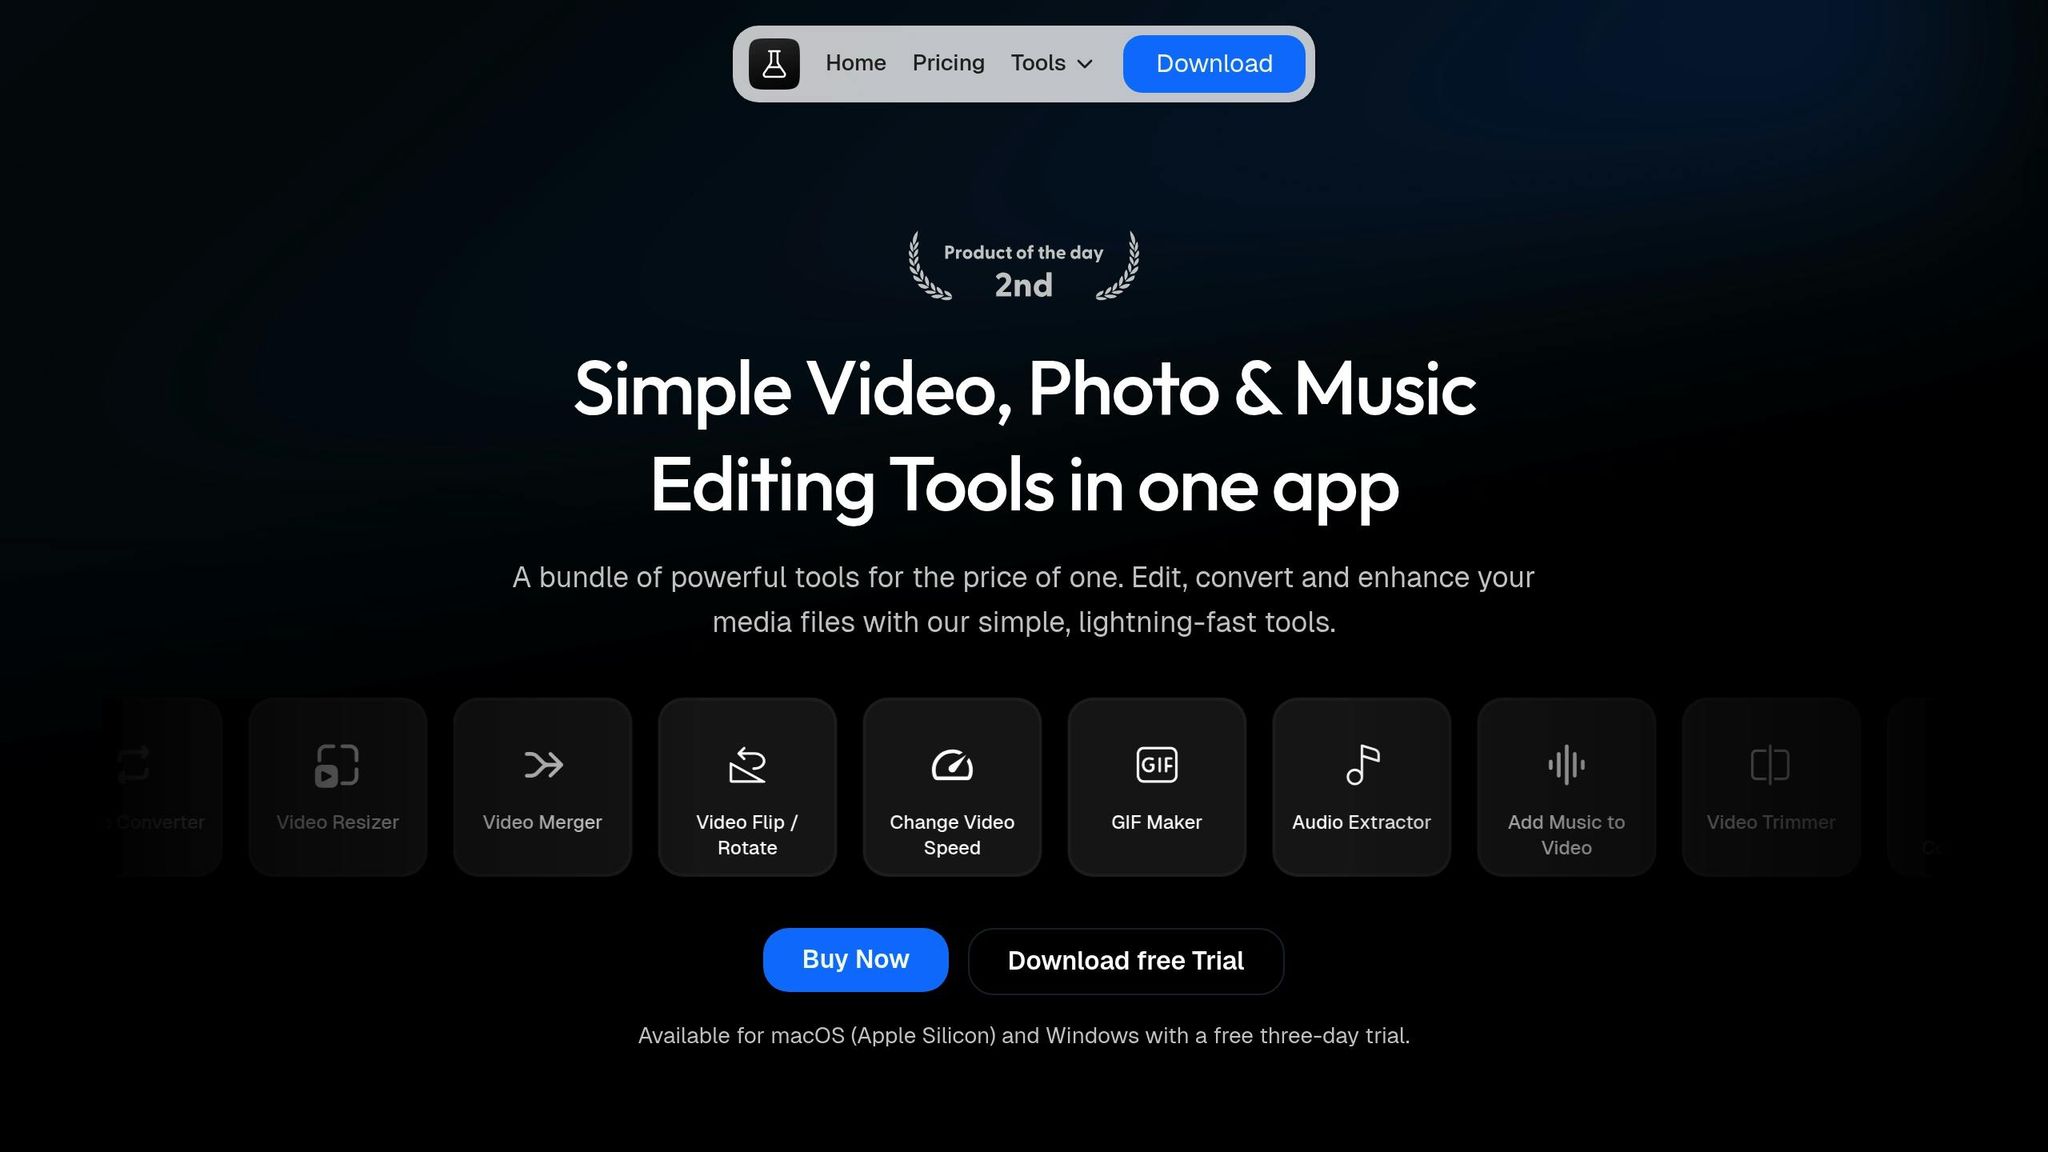
Turn your edited video into a polished GIF using Pimosa, a desktop app designed for both macOS (Apple Silicon) and Windows users. This tool simplifies the process of creating professional animations without requiring advanced editing skills. The GIF Maker feature gives you the control needed to produce high-quality GIFs.
Uploading Your Video to Pimosa
Pimosa works seamlessly on macOS and Windows, and you can explore all its features with a free three-day trial before deciding to purchase.
Once installed, open the "GIF Maker" tool. You can upload your video by dragging and dropping it into the interface or selecting the file manually. If you’re working with multiple video clips, Pimosa’s batch processing feature lets you create several GIFs at once, saving time and effort.
After uploading, the tool provides a preview of your video. This lets you double-check that you’ve selected the correct file and review the content before making any changes.
Once you're satisfied with the preview, you can move on to customizing your GIF settings.
Adjusting GIF Settings
Fine-tune technical details to strike the right balance between quality and file size. You can adjust the resolution (ranging from 240p to 2160p) and frame rate (15–20 FPS is ideal for smooth playback).
Use the trimming tool to select the exact portion of the video you want to use. You can navigate frame by frame to pinpoint the perfect start and end points, ensuring your GIF loops seamlessly.
You can also tweak the playback speed to highlight action or create time-lapse effects. Adjusting the pace helps make your GIF more engaging and visually appealing.
Adding Text and Effects
Once the technical settings are in place, you can enhance your GIF with text and effects to make it stand out. Add short, clear text to provide context, keeping it unobtrusive so it doesn’t distract from the main action.
When adding text, think about placement. Position it where it’s easy to read but doesn’t interfere with the GIF’s focal point. Bold, high-contrast text is the most effective, especially for smaller screens.
Pimosa also offers filters and effects to refine your GIF’s look. Adjust brightness, contrast, and saturation to improve the visuals while keeping the changes subtle. Small tweaks often have a bigger impact than dramatic edits.
The cropping tool is another handy feature. Use it to zoom in on key elements, remove unnecessary background distractions, or change the aspect ratio to fit specific platforms. Cropping can also help reduce the file size by cutting out unneeded pixels.
Once you’ve applied all your adjustments, your GIF is ready to share across any platform, ensuring it’s both eye-catching and optimized for your audience.
Optimizing GIFs for Different Platforms
When it comes to GIFs, one size definitely doesn’t fit all. Each platform has its own requirements and limitations, so tweaking your GIFs for proper display and engagement is key.
Reducing File Size
File size has a direct impact on how quickly your GIFs load. Ideally, aim for a file size between 15 KB and 1 MB, with email marketing GIFs needing to stay under 200 KB.
Start by adjusting the resolution in tools like Pimosa. While a standard resolution of 480p (640×480 pixels) works for most GIFs, you can often go smaller without losing quality. Simpler animations compress better than complex, detailed footage.
Another way to cut file size is by lowering the frame rate. Reducing the frame rate in Pimosa - ideally to somewhere between 15 and 24 fps - can shrink the file size significantly without making playback feel choppy. For example, dropping from 30 fps to 20 fps can make a big difference.
Keep your GIFs short and to the point. Platforms like Giphy won’t accept uploads longer than 15 seconds and recommend sticking to 6 seconds or less. Shorter loops not only grab attention faster but also keep file sizes manageable.
Color optimization is another crucial step. Since GIFs can only support up to 256 colors, simplifying your palette can have a huge impact [22, 30]. Use Pimosa’s color reduction tools to avoid gradients, as bold, contrasting colors compress more efficiently.
For smoother visuals, enable dithering in Pimosa. This technique blends colors naturally, reducing harsh transitions and preventing pixelation when using fewer colors [22, 30].
Once you’ve reduced the file size, tweak the settings based on where you plan to share your GIFs.
Platform-Specific Settings
Each platform processes GIFs differently, so optimizing for your target audience ensures the best performance.
Twitter is best suited for GIFs under 5 MB with a near 1:1 aspect ratio. Since Twitter compresses larger files automatically, pre-optimizing with tools like Pimosa helps maintain quality.
Discord offers more flexibility with file size limits - up to 8 MB for regular users and 50 MB for Nitro subscribers. However, specific uses like profile pictures and server logos have their own guidelines:
| Discord Usage | Recommended Dimensions | Max File Size |
|---|---|---|
| Profile Picture | 512×512 pixels | 8 MB |
| Server Logo | 512×512 pixels | 8 MB |
| Server Banner | 960×540 pixels | 8 MB |
| Custom Emoji | 32×32 pixels (up to 128×128) | 256 KB |
Facebook supports GIFs up to 5 MB, while Instagram requires GIF stickers to remain under 1 MB.
For email marketing, optimization is even more critical. Keep GIFs under 1 MB for faster loading, and aim for files below 200 KB whenever possible. This is especially important since 56.6% of marketers use animated GIFs in emails. For example, Dell’s 2014 Convertible Ultrabook campaign, which featured a GIF, saw its highest click-through rates. Keep in mind that some email clients don’t support GIFs and only display the first frame. Make sure this frame includes key information and works as a standalone static image.
For mobile users, file size is crucial. Large GIFs can take longer to load on slower connections, which risks losing viewers before the content even appears. Always test your GIFs on mobile devices to ensure they load quickly and display properly on different screen sizes.
When embedding GIFs on websites, use responsive design principles. Create versions that adapt to various screen sizes, or crop the GIF to highlight important elements for smaller displays using tools like Pimosa.
sbb-itb-60ba97a
Fixing Common Problems
Even with the best intentions, creating GIFs can sometimes hit a few snags. The upside? Most of these issues have simple fixes once you know what to adjust.
Preventing Blurry or Pixelated GIFs
GIFs are limited to 256 colors, which can sometimes result in pixelation.
To avoid this, always begin with the highest-quality source video. Since GIF quality can only degrade from the original, starting with a crisp video is key.
In Pimosa, pay close attention to resolution settings. A standard resolution like 480p (640×480 pixels) works well for most GIFs. Occasionally, lowering the resolution slightly while optimizing colors can deliver cleaner results.
Frame rate is another factor that affects visual quality. Most GIFs fall between 12 and 30 frames per second (fps). A higher frame rate can make the animation smoother but may also highlight minor quality issues.
For GIFs with text, choose clear, sans-serif fonts in Pimosa. These fonts reduce anti-aliasing, making the text appear sharper and less pixelated. If your GIF includes fade effects or opacity changes, switching to simpler animations can help avoid compression artifacts.
Experiment with Pimosa's dithering settings to smooth out color transitions. Different dithering options can make colors blend more naturally and reduce harsh edges.
Lastly, ensure your GIF's dimensions match the source video's aspect ratio to prevent unnecessary distortion.
Fixing Aspect Ratio Issues
Aspect ratio problems happen when the source video doesn’t match the desired GIF dimensions, leading to stretched or squished images.
Pimosa offers several ways to handle this. You can center and crop the video to maintain its proportions while fitting the target size, stretch it to fit (though this may distort the image), or lock the original aspect ratio to prevent unwanted stretching.
For social media, Pimosa’s canvas size presets are a lifesaver. These presets are tailored for platforms like Instagram, Twitter, and Facebook, ensuring your GIFs display correctly without awkward black bars or cropping.
When a specific aspect ratio is required, cropping is often the better option compared to stretching. Pimosa includes preset ratios like 16:9 for widescreen, 4:3 for traditional formats, and 1:1 for square posts. Carefully select the crop area to keep the most important parts of the image intact.
If you need custom dimensions, you can manually set the width and height while deciding whether to preserve the aspect ratio. For deliberate stretching or compressing, disable the aspect ratio lock and adjust one dimension as needed.
Once aspect ratio issues are resolved, the next step is managing file size effectively.
Managing File Size
Keeping GIF file sizes manageable can be tricky, especially when trying to meet platform limits without sacrificing quality.
One effective method is reducing the color palette. Since GIFs can only handle 256 colors, limiting your palette to just a few neutral tones and one bright accent color can significantly reduce file size. In Pimosa, use adaptive color reduction when saving GIFs for the web.
Eliminating duplicate frames is another way to cut down file size. Many GIFs include redundant frames that add unnecessary bulk. Pimosa’s optimization tools can automatically detect and remove these extras.
The complexity of your animation also plays a role. Simple transitions like cuts require fewer frames and colors than fades. For photographic GIFs, adding a monochrome overlay can help reduce the number of colors needed.
Lossy compression is another option. Compressing GIFs between 20% and 40% can reduce file size while maintaining acceptable quality.
Evan Diaz suggests keeping GIFs under 5 MB for email use, though smaller sizes are always better.
Shorter animations are generally more efficient. Giphy won’t accept uploads longer than 15 seconds and recommends keeping them under 6 seconds for optimal performance. A frame count below 200 is ideal, with fewer than 100 frames being even better for keeping file sizes small.
If your GIFs are still too large, revisit your color palette, frame count, and resolution settings in Pimosa to find the right balance between quality and size.
Conclusion
This guide has taken you through the essentials of creating optimized GIFs, from choosing the right video to fine-tuning the final product. Start with high-quality footage, keep your animations brief (around 3–6 seconds), and aim for a steady frame rate (12–15 fps) to ensure smooth playback. Focus on one clear action to keep your audience engaged and avoid confusion.
With Pimosa, everything you need for GIF creation is bundled into one efficient desktop app. It simplifies the process by combining video editing, trimming, and GIF creation in a single platform. Pimosa's desktop-based processing ensures quick results while keeping your work private. Its intuitive interface allows you to easily import, trim, edit, and export GIFs without juggling multiple tools.
Users who rely on Pimosa appreciate its simplicity and time-saving features:
"Love how Pimosa brings together so many useful tools in one app! Definitely saves a ton of time when you can quickly compress, convert, and even create GIFs all in one place. The simplicity is key, perfect for someone (including me, as a designer myself) who just needs to get things done without all the complexity." – Shivam Singh, Product & Growth Lead
To make your GIFs stand out, focus on vibrant colors, strong contrast, and seamless looping. If file size becomes a challenge, you can balance quality and compression by tweaking the color palette and other settings using Pimosa's built-in tools.
Pimosa makes it easy to turn your videos into eye-catching GIFs, whether you're creating for social media, email campaigns, or professional presentations. With features like batch processing, a built-in video player, and versatile editing tools, it’s a dependable choice for both beginners and experienced creators. Plus, with plans starting at just $19 per year - and lifetime options available - it’s an affordable way to elevate your GIF game.
Now it’s your turn. Take what you’ve learned, pick your best video clips, and start crafting GIFs that captivate and engage. The tools are in your hands - let your creativity shine.
FAQs
How can I make a GIF loop smoothly without any noticeable breaks?
To make a GIF loop seamlessly, the key is to ensure the first and last frames are the same, creating a smooth transition. Adding fade effects can also help blend the start and end for a more polished look. Pay attention to the frame timing - it should match the motion and keep the action flowing naturally. Aim for a short duration, ideally around 3 to 6 seconds, as shorter loops are easier to perfect and tend to hold attention better. Once you've put it together, preview the GIF and tweak the frame order or timing to smooth out any rough spots.
How do I optimize GIFs to maintain quality while reducing file size for different platforms?
How to Optimize GIFs Without Losing Quality
If you want your GIFs to look great while keeping file sizes manageable, here are a few strategies to try:
- Reduce the frame rate: Dropping the frame rate to around 10–15 frames per second can cut file size significantly without making the animation look choppy.
- Simplify the color palette: Since GIFs are capped at 256 colors, trimming down the palette can help reduce the file size while keeping the visuals clear.
- Resize the dimensions: Adjusting the size of your GIF to match platform-specific requirements can make it more efficient, especially for mobile users.
- Leverage compression tools: There are plenty of tools available that can compress GIFs, helping you shrink file sizes while keeping the quality acceptable.
After optimizing, always test your GIFs on the platforms where they'll appear. This ensures they load quickly, look sharp, and perform well across different devices.
What are the most common mistakes to avoid when making GIFs from videos, and how can Pimosa help?
When you're turning videos into GIFs, a few common missteps can lead to less-than-ideal results. Issues like oversized files, too many colors, or text overlays that are hard to read can make your GIFs load slowly, look cluttered, or fail to grab attention on social media.
Pimosa simplifies the process with tools that let you tweak file sizes, fine-tune color palettes, and ensure your text is easy to read. These features make it easy to create eye-catching, shareable GIFs that perform well on any platform.