7 Ways to Compress Videos Without Losing Quality
Large video files can be a hassle - they take up storage, slow down transfers, and cause streaming delays. But you can reduce file sizes without sacrificing quality. Here's how:
- Choose the Right Codec: Use H.264 for compatibility or H.265 for better compression.
- Adjust Bitrate and Resolution: Lower the bitrate and resolution to shrink file sizes while keeping good quality.
- Use Compression Tools: Tools like HandBrake (free) and Pimosa (paid) simplify compression.
- Trim Unnecessary Footage: Cut out redundant parts to reduce file size directly.
- Compress on Mobile: Apps like Pimosa let you compress videos on your phone.
- Tweak Recording Settings: Record at 1080p and 30fps to avoid oversized files.
- Leverage Advanced Settings: Use CRF and VBR for efficient compression.
Quick Comparison
| Method | Best For | Tools/Settings |
|---|---|---|
| Choose Codec | Reducing size efficiently | H.264, H.265 |
| Adjust Bitrate/Resolution | Balancing quality and size | VBR, recommended bitrate ranges |
| Compression Tools | Simplifying the process | HandBrake, Pimosa |
| Trim Footage | Removing unnecessary parts | Pimosa Trimmer |
| Mobile Compression | On-the-go compression | Pimosa App |
| Recording Settings | Avoiding large files upfront | 1080p, 30fps |
| Advanced Settings | Fine-tuning compression | CRF, VBR, two-pass encoding |
How to Reduce Video File Size With Minimal Quality Loss + FREE Preset
Video Compression Basics
Video compression reduces file sizes by removing unnecessary data while keeping the visual quality intact. This process relies on advanced algorithms and codecs, making storage more efficient and enabling smooth streaming experiences.
"Video compression in digital video, enabling efficient storage, transmission, and consumption of content across a wide range of devices. By leveraging the right algorithms and techniques, video compression helps reduce file sizes while maintaining acceptable visual quality." - Cloudinary
Without compression, streaming platforms would struggle to deliver content effectively. Compression algorithms work by identifying repetitive patterns, like static backgrounds, and reusing that data. For instance, if the background in a video remains unchanged while the subject moves, the algorithm focuses on encoding the motion while reusing the data for the static background. This approach significantly reduces file sizes without sacrificing perceived quality.
Now, let’s dive into the role of codecs and key terms that make compression work.
What Are Codecs and Why Do They Matter?
Codecs, short for coder-decoders, are the tools that compress and decompress video files. They allow videos to be stored and streamed efficiently while maintaining their quality. One of the most commonly used codecs is H.264, known for its broad compatibility and ability to deliver excellent quality at lower bitrates. It compresses video using 16×16 pixel macroblocks, making it a go-to choice for online video.
The newer H.265, also called HEVC (High-Efficiency Video Coding), takes compression to the next level. It uses larger processing blocks known as Coding Tree Units (CTUs), which can handle up to 64×64 pixels. This allows H.265 to cut bitrates by about 50% compared to H.264 while maintaining similar quality. For example, at 4K UHD resolution, H.265 achieves an average bitrate reduction of 65%, and at 1080p, it reduces bitrates by 60%. However, this efficiency comes at the cost of requiring more processing power for both encoding and decoding.
Key Terms: Bitrate, Resolution, and Frame Rate
To understand how compression affects video quality, it’s important to grasp three key factors: bitrate, resolution, and frame rate.
- Bitrate: This refers to the amount of data processed per second, measured in bits or kilobits per second (kbps). Higher bitrates generally result in better video quality but also larger file sizes. For instance, high-quality video might require 2,500–4,000 kbps, while lower-quality video could use just 350–800 kbps.
- Resolution: This defines the number of pixels in a video frame, typically noted as width × height (e.g., 1920×1080 for Full HD). Higher resolutions provide sharper images but demand more data to maintain clarity.
- Frame rate: Measured in frames per second (fps), this indicates how many frames are displayed each second. A higher frame rate ensures smoother motion, which is crucial for dynamic content like sports or gaming.
These elements often involve trade-offs. For example, a 720p video at 60fps might require a similar bitrate to a 1080p video at 30fps. In this scenario, the 720p video would offer smoother motion, while the 1080p version would deliver sharper details, making each suitable for different types of content.
| Resolution | Frame Rate | Recommended Bitrate |
|---|---|---|
| 720p | 30fps | 1,500–4,000 kbps |
| 720p | 60fps | 7,500 kbps |
| 1080p | 30fps | 3,000–6,000 kbps |
| 1080p | 60fps | 4,500–9,000 kbps |
| 4K | 30fps | 13,000–34,000 kbps |
| 4K | 60fps | 20,000–51,000 kbps |
Striking the right balance between bitrate, resolution, and frame rate is key to effective compression. While higher resolutions demand more data to maintain quality, careful adjustments can ensure a great viewing experience while keeping file sizes manageable.
Method 1: Choose the Right Codec for Compression
Picking the right codec is a crucial step in achieving efficient video compression. A codec is essentially a tool - either software or hardware - that compresses and decompresses digital video files. The codec you choose directly impacts both the file size and the quality of the video.
"The objective of a good delivery codec is to provide the best quality deliverable possible so that viewers will never miss any data 'lost' in the compression process. The data thrown out is generally considered unnecessary." - Kaltura
Modern codecs are designed to strip away redundant data while preserving the essential visual details. This approach can drastically reduce file sizes. For instance, uncompressed 4K video files can easily take up several terabytes of storage, but the right codec can shrink these files down to manageable sizes without any noticeable loss in quality.
Use H.264 or H.265 for Better Compression
H.264 is one of the most popular codecs and serves as a reliable option for most compression needs. It strikes a good balance between file size and video quality, making it widely compatible across devices and platforms. H.264 is particularly effective for live streaming and real-time applications, thanks to its fast encoding speed.
H.265 (also known as HEVC) offers even better compression efficiency, reducing file sizes by up to 50% compared to H.264 while maintaining the same quality. This makes it ideal for high-resolution content like 4K or even 8K videos, where older codecs might struggle to keep file sizes manageable. However, H.265 encoding is more complex and takes longer, and its compatibility with older devices is limited.
| Feature | H.264 | H.265 |
|---|---|---|
| Compression efficiency | Good compression | Up to 50% more efficient |
| Video quality | High quality, higher bitrate | Same quality, half the bitrate |
| Resolution support | Up to 4K | Up to 8K |
| Device compatibility | Supported on most devices | Limited on older devices |
| Encoding speed | Fast | Slower due to complexity |
When deciding between these two codecs, think about your audience and their devices. H.264 is the safer choice for broad compatibility, while H.265 is better for delivering high-quality content to modern devices, especially for 4K streaming.
Once you've chosen your codec, the next step is to fine-tune its settings to get the most out of your compression.
Best Practices for Codec Settings
To maximize the benefits of your selected codec, it's essential to understand and adjust key settings that influence the balance between quality, file size, and encoding speed.
Constant Rate Factor (CRF): CRF is a critical setting for quality-focused compression. It adjusts the bitrate dynamically to maintain consistent video quality. A CRF value of 18 or below is recommended for high-quality results. Lower values mean higher quality but larger files, while higher values save space at the cost of quality.
Variable Bit Rate (VBR): Unlike constant bitrate encoding, VBR allocates more data to complex scenes and less to simpler ones. This ensures that each part of the video gets the bitrate it needs, optimizing both quality and file size.
Quality Control Adjustments: Make gradual changes to your settings. For high-resolution content, you can often use lower quality settings because any compression artifacts are less noticeable in the overall image. Animated content, however, may require higher quality settings since it’s more sensitive to compression artifacts than live-action footage.
Experiment with these settings incrementally. Using constant frame rates and slower encoding presets can also help improve compression efficiency without sacrificing quality. Keep in mind that codec settings often interact with one another, so testing different combinations is key to finding the optimal setup for your specific content and distribution needs.
Method 2: Adjust Bitrate and Resolution
Once you've chosen the right codec, the next step is to fine-tune the bitrate and resolution. These adjustments play a key role in managing file size while maintaining good video quality. Bitrate refers to the amount of video data transmitted per second, typically measured in bps, Kbps, or Mbps. Generally, higher bitrates mean better quality but larger files, while lower bitrates can reduce file size without a noticeable drop in quality.
A popular approach is using Variable Bitrate (VBR). VBR dynamically allocates more data to complex scenes and less to simpler ones, ensuring consistent video quality while saving bandwidth. With VBR in place, you can set bitrate guidelines tailored to your video's resolution and frame rate.
Recommended Bitrate Ranges for Different Resolutions
The ideal bitrate depends on your video's resolution and frame rate. Platforms like YouTube provide helpful recommendations to guide your settings.
| Resolution | Frame Rate | Recommended Bitrate | Audio Bitrate |
|---|---|---|---|
| 1080p (Full HD) | 30 fps | 3,000‑6,000 kbps | 192 kbps |
| 1080p (Full HD) | 60 fps | 4,500‑9,000 kbps | 192 kbps |
| 4K (2160p) | 30 fps | 13,000‑34,000 kbps | 320 kbps |
| 4K (2160p) | 60 fps | 20,000‑51,000 kbps | 320 kbps |
For most 1080p videos, a bitrate of around 5 Mbps strikes a good balance between quality and file size. However, 4K videos demand much higher bitrates due to their increased pixel count - approximately four times that of 1080p. If your content has minimal motion or detail, using the lower end of the recommended range for 4K can still deliver satisfactory results.
When setting bitrates, think about your audience's internet speeds. Adaptive bitrate streaming is a great solution, as it adjusts video quality automatically based on the viewer's bandwidth.
Reduce Video Resolution
In addition to bitrate adjustments, lowering the resolution can significantly shrink file sizes while keeping the video visually acceptable. This is particularly effective for content viewed on smaller screens, like mobile devices.
For example:
- Videos exceeding 1080p can be downscaled to 1920×1080 for HD quality with reduced file sizes.
- Social media content often works well at 720p (1280×720), offering a good balance of quality and size.
- Instagram posts can benefit from cropping to 1080×1080 pixels, optimizing both file size and platform compatibility.
If bandwidth is a concern, combining lower resolution with reduced bitrate can achieve efficient compression while maintaining acceptable visual clarity.
sbb-itb-60ba97a
Method 3: Use Advanced Compression Software
Once you've adjusted codecs and fine-tuned bitrate settings, advanced compression software can make the process much smoother, delivering professional results. These tools combine various compression techniques into intuitive interfaces, helping you minimize file size while keeping quality intact.
HandBrake: Free and Versatile
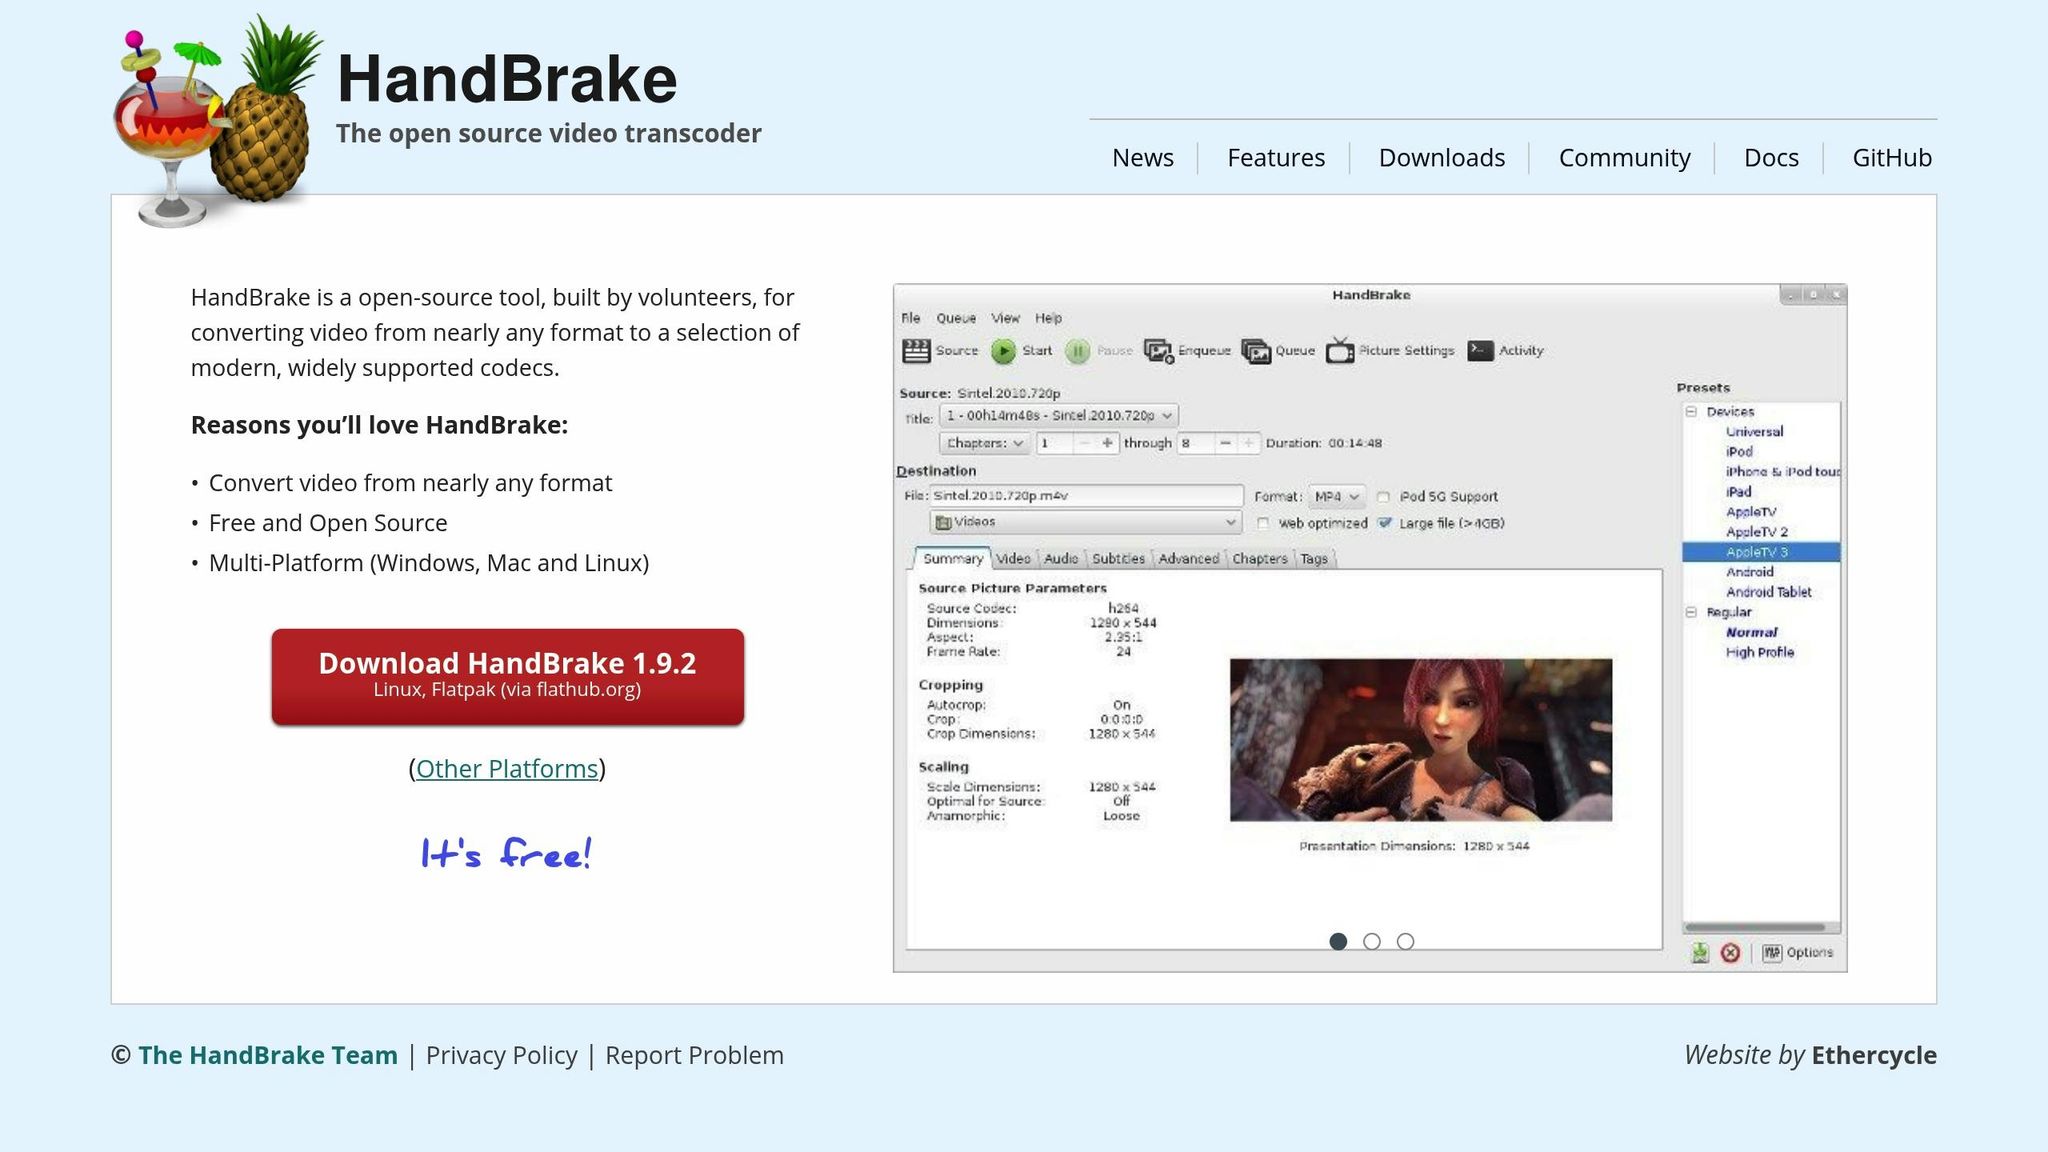
HandBrake stands out as a top-tier, free compression tool. This open-source software offers a simple interface alongside powerful customization options.
Its preset system is a game-changer for simplifying compression. You can select optimized presets tailored to specific devices and tweak the settings further if needed.
One of HandBrake's standout features is its advanced filtering system. It allows you to apply filters like deinterlacing, noise reduction, and sharpening during compression, which can even enhance video quality while reducing file size. The software also supports two-pass encoding, a method that first analyzes the entire video and then applies optimal compression settings for the best balance between quality and size. Plus, it supports a wide range of input formats and can convert them into modern, efficient codecs like H.264 and H.265.
While HandBrake is an excellent free option, some users may prefer a more integrated platform for added convenience.
Pimosa: A Comprehensive Solution
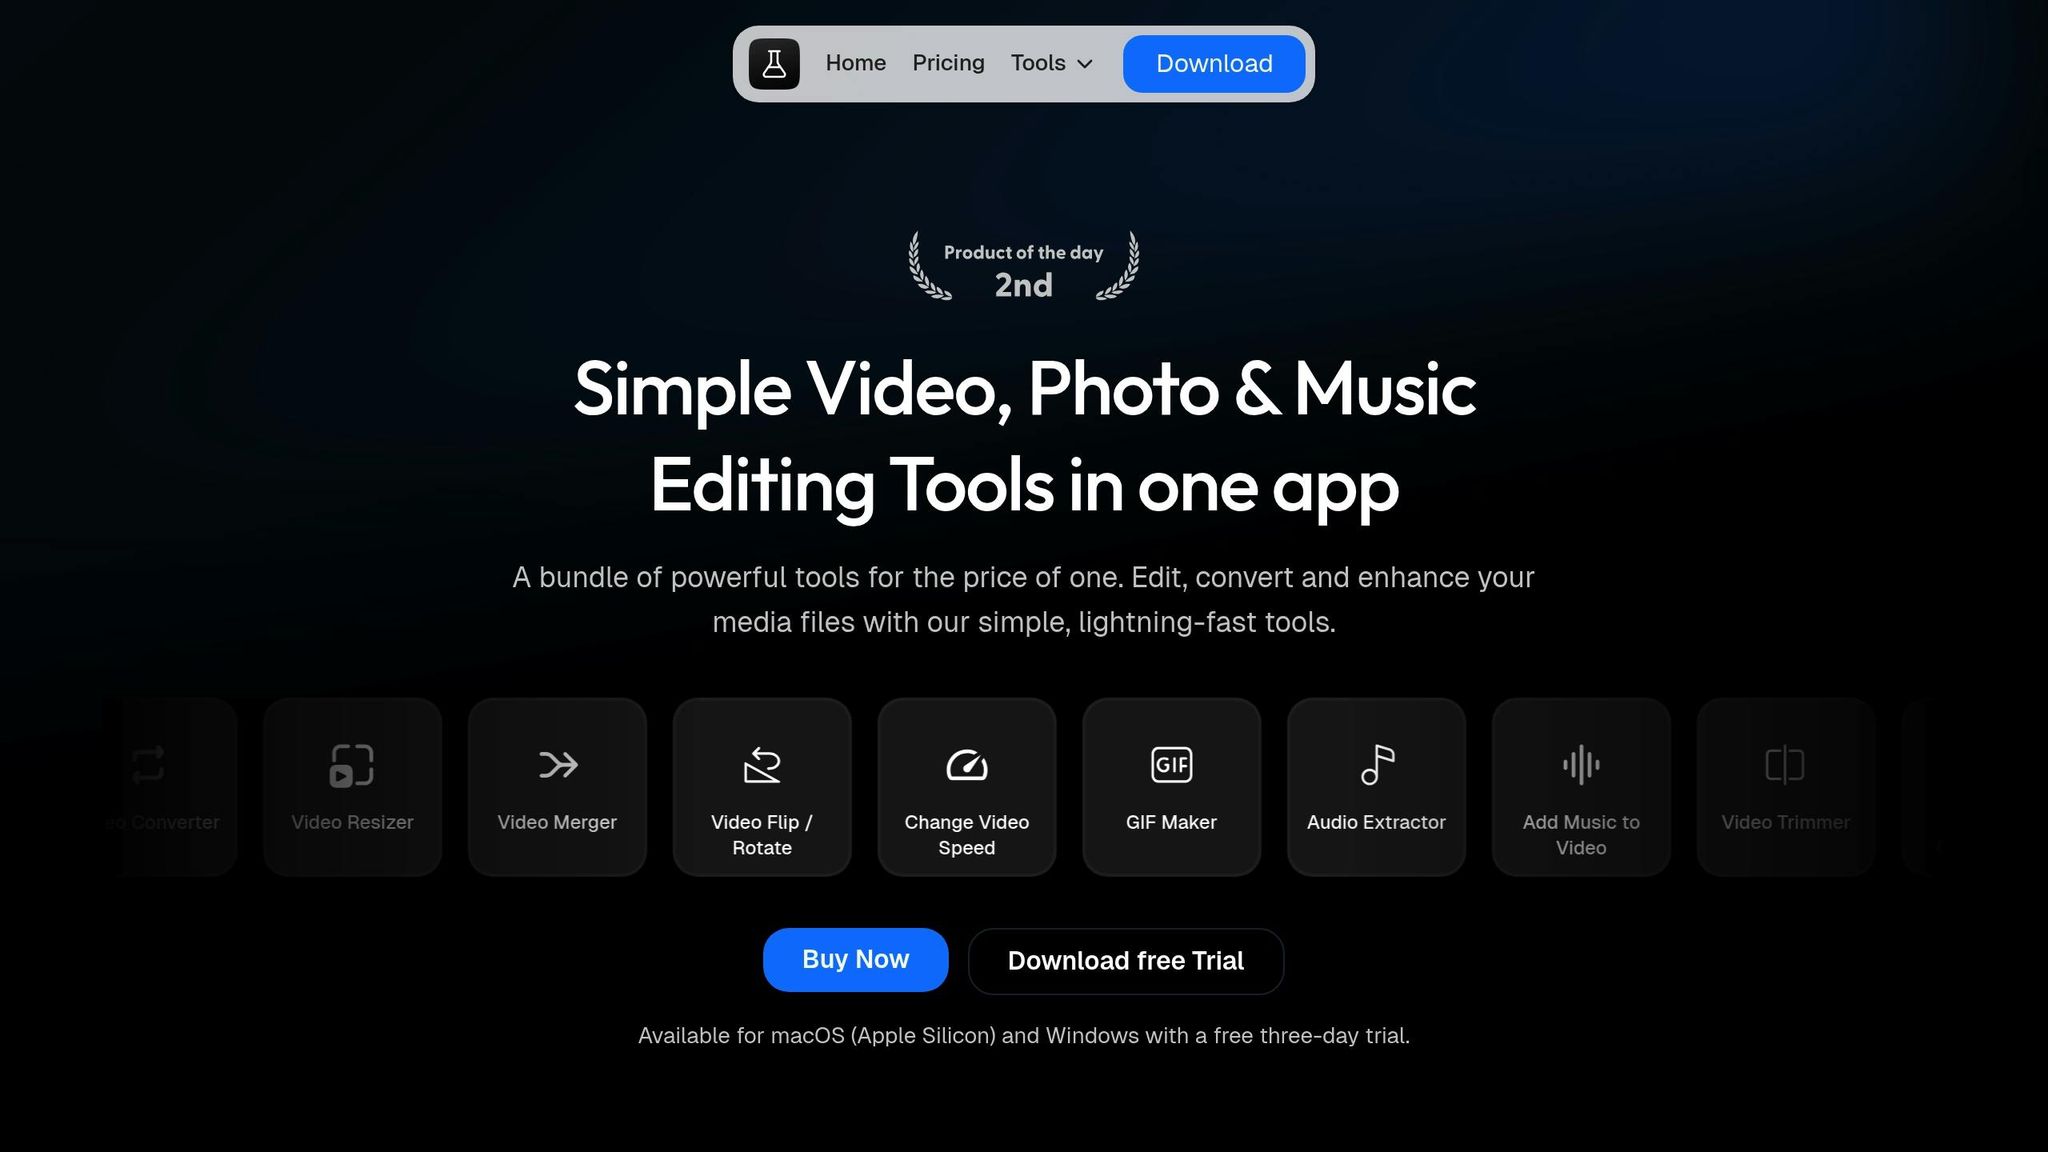
Pimosa offers a different approach, combining video compression with a full suite of editing tools. This all-in-one software can compress videos by up to 90% without sacrificing quality, making it ideal for users who need both compression and basic editing.
It supports all major video formats and provides an integrated workflow where you can trim, adjust quality settings, and compress your videos - all within the same application. This makes it a perfect complement to earlier techniques like bitrate adjustment and removing unnecessary content.
"I bought the beta version, before I used to lookup for Image resizer, video compressor and other tools on google but it's good to have app for it. Awesome work keep bringing more apps like this."
– Michail Chaykovsky, Reddit/Twitter user
Pimosa's batch processing feature is a major time-saver, allowing you to compress multiple videos simultaneously - a big plus for users managing large video collections. Its built-in video player lets you preview files before and after compression, ensuring the final output meets your expectations without needing to leave the app.
For those concerned about privacy, Pimosa processes everything locally on your device. This means your video files never leave your computer during compression or editing.
The software offers flexible pricing plans: $19 per year for annual access, $29 for lifetime personal use, or $49 for extended lifetime access that covers up to two devices.
"This app is straight to the point, everything on the website is helpful, I love that! One-stop shop is a strong offer compared to using disparate tools."
– Denis Sigal, Product Hunt user
Users frequently highlight Pimosa's ease of use and versatility. By combining compression, trimming, and format conversion in one platform, it simplifies workflows and eliminates the need for juggling multiple tools.
Method 4: Trim and Remove Unnecessary Content
One of the simplest ways to compress a video is by cutting out parts you don’t need. This approach works well alongside codec and bitrate adjustments, as it directly reduces the amount of data in the video. Every second of footage adds to the file size, so trimming sections like long intros, awkward pauses, or redundant moments can significantly shrink the final file size without affecting quality. By focusing only on the essential parts, you ensure that every second of your video serves a purpose.
And the best part? You can lower the file size without sacrificing quality.
"You don't have to use everything you record. Unusable footage includes everything from mistakes like misspoken words to shots where the background noise is too loud to hear the speaker."
To make this work, start by identifying your video’s main message. This will help you separate the must-keep clips from the unnecessary ones.
Use Pimosa's Built-In Trimmer
If you're using Pimosa's desktop app, you’re in luck - it comes with a video trimmer designed for macOS and Windows users. This tool supports popular formats like MP4 and MOV, and since it processes files offline, your privacy is fully protected.
Using the trimmer is straightforward. Just import your video, pick the start and end points, and use the preview feature to check your edits before saving. If you’re dealing with multiple videos - like a batch of clips that all need the same intro removed - Pimosa’s batch trimming feature can save you tons of time. Plus, the trimmer integrates with other Pimosa tools, so you can combine trimming with compression for even smaller file sizes.
Once you’re happy with your edits, choose where to save the trimmed video and hit "Save." The tool ensures the original quality of your footage stays intact while delivering a much smaller file.
Keep in mind that good trimming doesn’t just cut out unnecessary parts - it also keeps your video’s flow smooth. If you’re removing sections from the middle, make sure transitions aren’t abrupt. Adding a fade effect or a cutaway clip can help bridge gaps and maintain a polished look.
Method 5: Compress Videos on Mobile Devices
With most smartphones now defaulting to 4K video recording, it's no surprise that video files can quickly eat up storage space and make sharing a hassle. Thankfully, mobile compression tools make it easy to shrink these massive files without needing to transfer them to a computer.
Let’s take a closer look at how the Pimosa mobile app simplifies compression directly on your device.
Pimosa Mobile App: One-Tap Compression
The Pimosa app is available for both iOS and Android, offering an easy way to compress videos on the go. It supports popular formats like MP4, MOV, AVI, and MKV, so no matter how your phone records, Pimosa has you covered.
After importing a video, you can choose from high, medium, or low-quality settings. For example, medium is great for social media, while more aggressive settings help meet size limits for email or messaging apps. Pimosa’s compression technology can shrink videos by up to 90% while maintaining impressive quality. Plus, its smart algorithms automatically adjust settings based on your video’s content.
The app also includes a built-in trimmer, allowing you to cut out unnecessary parts before compressing. This not only reduces the file size further but also saves you time.
The process couldn’t be simpler: import your video, pick your compression settings (including format and quality), choose where to save the file, and hit “Compress All.” Everything happens locally on your device, so your videos stay private, and no internet is required.
Pimosa is also smart enough to handle platform-specific requirements. For instance, it can compress videos to fit Discord’s 8MB limit or Gmail’s 25MB attachment cap.
Adjust Default Recording Settings
If you want to avoid large files altogether, tweaking your phone’s recording settings can make a big difference. Most phones are set to record at their highest quality, like 4K at 60 frames per second. While this produces stunning footage, just one minute of 4K video can easily take up over 400MB of storage - making it impractical for everyday use.
To save space, open your camera settings and lower the recording resolution. Switching from 4K to 1080p significantly reduces file sizes while still delivering excellent quality for most purposes. Similarly, dropping the frame rate from 60fps to 30fps can cut file sizes in half - perfect for casual videos.
For platforms like Instagram Stories or TikTok, recording at 1080p and 30fps strikes a great balance between quality and file size. Some phones also offer variable bitrate recording, which adjusts quality based on the complexity of the scene, helping to keep file sizes manageable without sacrificing too much detail.
Conclusion: Key Takeaways for Video Compression
Video compression is all about reducing file sizes while keeping quality intact. When done right, it ensures your videos look sharp across different devices.
Here’s the bottom line: To balance small file sizes with high clarity, go with H.264 for broad compatibility or H.265/AV1 for up to 30% better efficiency.
Adjusting bitrate and resolution plays a huge role in managing file sizes. For example, scaling down from 4K to 1080p can drastically cut file sizes while still delivering excellent quality for most uses. Using Variable Bitrate (VBR) is another smart move - it keeps quality high in complex scenes but reduces the overall file size.
Simple tweaks like trimming unnecessary footage or fine-tuning audio tracks can also shrink file sizes before applying heavy compression. In many cases, these steps are more effective than relying solely on compression.
For mobile users, adjusting your phone’s recording settings to 1080p at 30fps helps avoid oversized files. Plus, mobile apps can handle compression efficiently, making large files much easier to manage.
Tools like Pimosa make the process even smoother. It combines compression and editing, cutting file sizes by up to 90% while keeping everything local. No need to juggle multiple apps or tools.
Whether your goal is sharing videos on social media, emailing large files, or saving storage space, combining the right codecs, bitrate adjustments, and content optimization techniques ensures top-notch results.
FAQs
Why is choosing the right codec important for video compression and quality?
Choosing the right codec is crucial because it directly affects how efficiently your video is compressed while preserving its quality. Codecs like H.264 are a popular choice since they offer a solid balance between maintaining high quality and keeping file sizes manageable, making them suitable for a wide range of applications. Meanwhile, more advanced options like H.265 can compress files even further with minimal quality loss, though they demand more processing power for encoding and playback.
Broadly speaking, lossy codecs achieve smaller file sizes by discarding some data, which might slightly impact quality. In contrast, lossless codecs retain every bit of detail but result in much larger files. Picking the right codec ensures your videos are optimized for storage, sharing, or streaming, all while delivering the visual clarity you need.
What are the advantages of using Variable Bitrate (VBR) instead of Constant Bitrate (CBR) for video compression?
Using Variable Bitrate (VBR) for video compression offers some clear benefits compared to Constant Bitrate (CBR):
- Improved Visual Quality: VBR dynamically adjusts the bitrate based on scene complexity. This means detailed or fast-paced scenes get more data for clarity, while simpler scenes use less, ensuring consistently sharp visuals.
- Smaller File Sizes: By allocating data where it's needed most, VBR often creates smaller files without sacrificing quality. This makes it easier to store and share videos.
- Better Bandwidth Management: VBR is particularly useful for streaming, as it reduces bandwidth usage during less demanding scenes, helping to deliver smoother playback for online viewers.
VBR strikes a balance between quality and efficiency, making it a go-to choice for video creators looking to optimize their content.
Can mobile apps compress videos without losing quality, and what are the best tips for doing so?
Yes, mobile apps can shrink video file sizes without sacrificing quality by using advanced codecs and smart compression methods. Many apps rely on codecs like H.264 or HEVC (H.265), which are specifically designed to minimize file sizes while keeping the video visually sharp. These tools are especially useful for creators and professionals looking to optimize videos for storage, sharing, or streaming.
Here are a few tips to achieve the best results:
- Look for apps that let you adjust resolution and bitrate settings.
- Opt for a high-efficiency codec to maximize compression without losing clarity.
- Make sure the app supports your required video formats and offers an intuitive interface.
With these strategies, you can effectively reduce video sizes while keeping the quality intact.