How to Convert Audio Files: MP3, WAV, and More
Need to convert audio files? Here’s what you need to know:
Audio file conversion helps you change formats like MP3, WAV, FLAC, and AAC to fit your needs - whether it’s saving storage, ensuring compatibility with devices, or maintaining high-quality sound.
Key Takeaways:
- MP3: Best for small file sizes and universal compatibility.
- WAV: Perfect for professional use with uncompressed, high-quality audio.
- FLAC: Keeps original quality with smaller file sizes (lossless).
- AAC: Great for streaming with better quality than MP3 at similar sizes.
Tools to Use:
- Pimosa: Privacy-focused, batch processing, and user-friendly ($29 lifetime).
- Audacity: Free, offline, and ideal for advanced editing.
- Web Converters: Quick but limited by file size and privacy concerns.
Pro Tips:
- Choose the right bitrate (e.g., 128–320 kbps for MP3) for quality vs. size.
- Keep metadata intact for organized libraries.
- Test files on target devices to ensure compatibility.
Whether you’re a casual listener or a professional, the right format and tool make all the difference. Let’s explore the details!
How to Convert a WAV to an MP3 Audio File (and vice versa) for Free (on PC or Mac)
Popular Audio Formats Explained
Knowing the ins and outs of audio formats can help you make smarter choices when it comes to file conversion. The main differences boil down to compression methods, file sizes, and the inevitable trade-offs in quality. Some formats keep every bit of the original data intact, while others sacrifice some quality to create smaller, more manageable files. As Brandon Copple, Head of Content at Descript, aptly puts it: "Pick the format that fits your actual goals - not whatever some self-proclaimed purist calls 'best.'"
Familiarizing yourself with the strengths of each format is the first step toward making informed decisions.
MP3: The Go-To Compressed Format
MP3 is the most recognized and widely used audio format. It uses lossy compression, which significantly reduces file size while maintaining sound quality that satisfies most listeners. For instance, a 3-minute song that takes up 30-40 MB in its uncompressed form can shrink to just 3-5 MB as an MP3. This is achieved through bitrates typically ranging from 128 kbps to 320 kbps, compared to WAV files that often operate at 1,411 kbps.
The secret behind MP3's efficiency lies in its ability to remove audio data that the human ear generally can't detect, achieving compression rates of 75% to 95%.
"MP3 uses compression to reduce the size of an audio file, making them perfect for online streaming and sharing with other users."
MP3's universal compatibility makes it a favorite for uploading to social media, sharing via email, or ensuring playback across various devices. However, there's a downside: each time you edit and save an MP3 file, you lose a bit more quality due to its lossy nature.
WAV: Uncompressed Audio at Its Best
WAV files are synonymous with top-tier audio quality. As an uncompressed, lossless format, WAV retains every detail of the original recording, delivering sound that’s identical to the source. It’s also highly flexible for editing, allowing multiple rounds of processing without any degradation in quality.
"WAV files are uncompressed and lossless. They retain all the original data and provide the highest possible quality sound output."
This format is the go-to choice for professionals in recording studios, radio stations, and audio engineering. WAV supports greater bit depths and can handle higher sampling rates, making it ideal for audio with intricate details or wide dynamic ranges.
The biggest drawback? File size. That same 3-minute track that’s 3-5 MB as an MP3 balloons to 30-40 MB in WAV format. Compatibility isn’t as seamless as MP3, but most modern devices and software can still handle WAV files without much trouble.
Other Formats: FLAC, AAC, and OGG
Beyond MP3 and WAV, other formats serve more specific needs in the audio world.
- FLAC (Free Lossless Audio Codec) combines excellent quality with reduced file sizes. It compresses audio to about 30-50% of its original size without losing any data. While FLAC files are 3 to 5 times larger than AAC files, they’re favored by audiophiles and archivists for preserving quality.
- AAC (Advanced Audio Coding) is a staple for modern streaming platforms. As the default codec for iTunes and Apple Music, AAC offers better sound quality than MP3 at comparable bitrates. It’s particularly effective for mobile streaming, balancing quality and file size.
"AAC is the best codec for streaming music most of the time... it reduces file sizes while maintaining sound quality."
- OGG Vorbis is an open-source option that’s less common but still effective. Spotify uses this lossy format for streaming, showcasing its practicality in real-world scenarios. It’s a solid choice for those who support open-source solutions.
| Format | Best Use Case | Key Advantage |
|---|---|---|
| FLAC/ALAC | General Music Listening | Lossless compression with smaller files |
| WAV/AIFF | Professional Music Production | Uncompressed quality for editing |
| APE | Archiving | High compression rates |
| AAC | Streaming | Efficient compression with quality |
Your choice of format ultimately depends on how you plan to use the audio. For everyday listening, FLAC or ALAC provide high-quality sound with manageable file sizes. If you’re working in professional audio production, WAV or AIFF are better suited for their uncompressed fidelity. Archiving projects benefit from APE’s high compression, while streaming applications thrive on AAC’s efficient balance of quality and size.
Understanding these formats is crucial for selecting the right one when converting audio files, ensuring the perfect balance between quality and file size. Next, we’ll dive into how these formats impact the conversion process.
Audio Conversion Tools
Finding the right audio conversion tool can make a big difference in efficiency and ease of use. When choosing, think about factors like file size, privacy, and how often you'll need to convert files. Below, we’ll dive into three popular categories of tools.
Using Pimosa for Audio Conversion
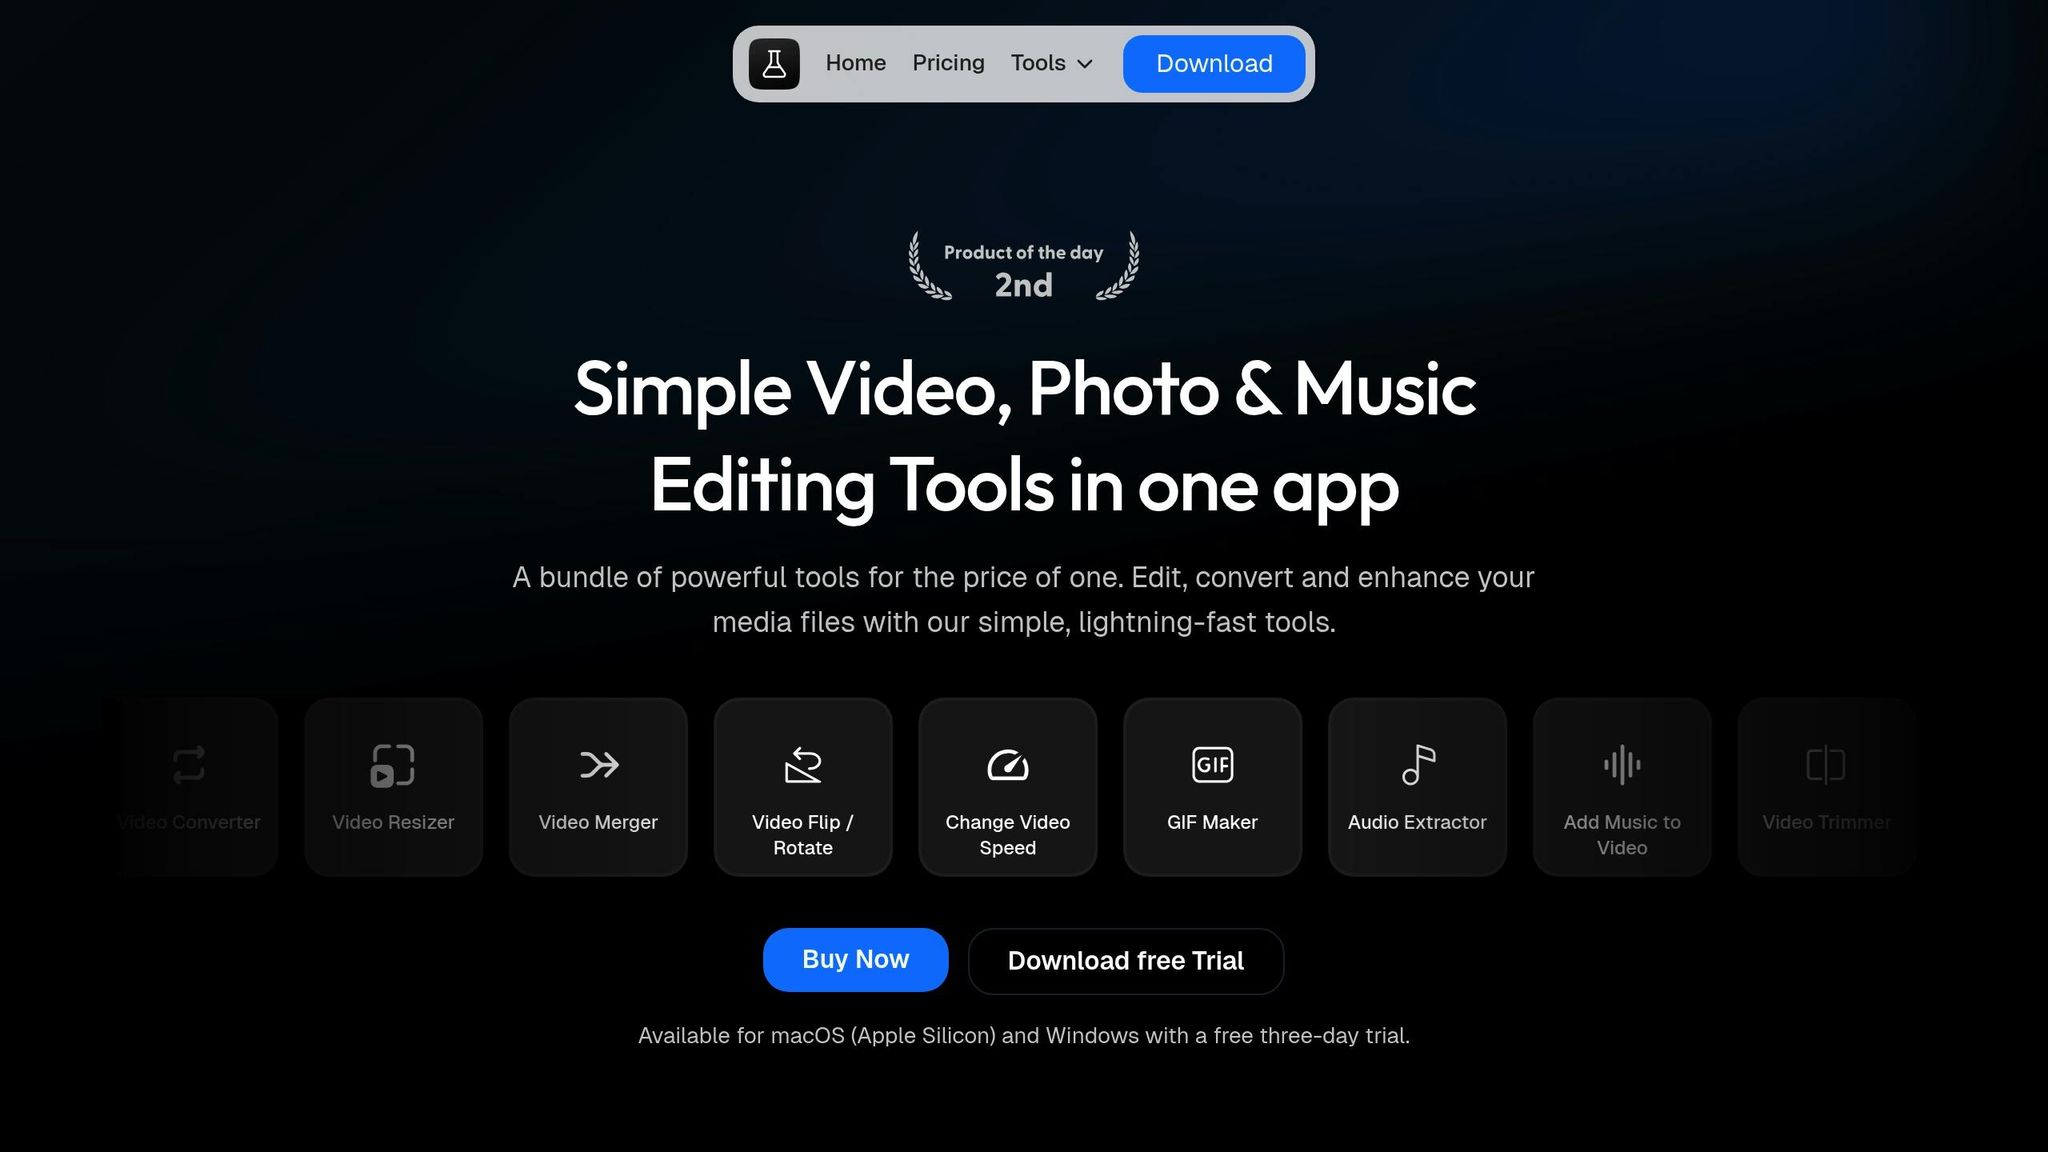
Pimosa is a versatile platform that offers more than 20 media editing tools, making it a go-to option for many users. One standout feature is its strong focus on privacy. All processing happens locally on your device, meaning your files never leave your computer.
"We do not collect or access any of your files during the process. Your files remain on your device at all times and are not shared with any third parties. We cannot view, access, or process your files."
Pimosa supports batch processing, allowing you to handle multiple files at once. It also includes tools for editing audio metadata, so you can tweak track information as needed. One user shared their experience:
"Best thing is Pimosa is available for both mac and windows, and I own windows PC and work MacBook so I can use it on my both device."
Another handy feature is the ability to extract audio from video files. This is especially useful for tasks like creating podcasts from videos or pulling music from clips.
Pricing starts at $29 for a lifetime license on one device, or $49 for access across two devices. There’s also a three-day free trial, so you can explore its features before committing. Jason Yu, an independent product designer, praised its user-friendly design:
"I really appreciate how Pimosa makes converting, editing, and enhancing media so simple. The batch processing feature is a major time-saver, and the straightforward tools mean anyone can use it effortlessly. A handy solution for all your video, photo, and music file needs!"
For those who need more advanced processing or prefer offline tools, desktop applications are a great alternative.
Desktop Applications for Offline Use
Desktop apps like Audacity are ideal for handling large files and more complex audio tasks. Since they run locally on your machine, they provide better performance and don’t rely on internet connectivity. These tools are particularly useful when you need to adjust settings like bitrate, sample rate, or compression with precision.
Another major advantage of desktop applications is their ability to manage large files without the limitations often found in web-based tools. They’re also better suited for sensitive content, such as interviews or proprietary audio, since files remain entirely on your device. Brandon Copple, Head of Content at Descript, advises:
"You should always consider the sensitivity of any files you upload to an online converter... But phone conversations, interviews, and other private media should probably not be converted online; use a desktop converter instead."
While desktop apps offer advanced features, they can be more complex to use and may require more powerful hardware. Still, for users prioritizing security and control, they’re an excellent choice.
Web-Based Tools and Their Limits
Web-based converters are all about convenience. They’re easy to access from any device with an internet connection, often free, and perfect for quick, simple conversions. You don’t need to install anything, making them a hassle-free option for smaller tasks.
However, these tools come with a few drawbacks. Most have file size limits - typically between 100 and 200 MB - and require a stable internet connection for uploads and downloads. Conversion speeds may also slow down during peak usage times.
Privacy is another concern. By uploading files to a third-party server, you risk exposing sensitive data, making web-based tools less suitable for confidential or proprietary audio.
| Tool Type | Best For | Key Limitations |
|---|---|---|
| Desktop Apps | Large files, sensitive content, offline work | Requires installation; can be complex |
| Web-Based | Quick conversions, non-sensitive files | File size limits; privacy concerns |
| Pimosa | Batch processing, privacy-focused workflows | Purchase required after the trial |
For large or sensitive files, desktop apps are the way to go. If you’re dealing with smaller, non-sensitive tasks, web-based tools are a convenient solution. Pimosa strikes a balance for users who need privacy and batch processing.
sbb-itb-60ba97a
How to Convert Audio Files
Converting audio files can be quick and effective if you use the right tools, whether you're working with a single file or processing a batch. The goal is to ensure the converted files meet playback or editing standards, whether for casual listening or professional use.
Converting Audio with Pimosa
Pimosa’s Audio Converter tool simplifies the process, especially when managing multiple files while keeping everything private. Start by downloading and installing the Pimosa desktop app, available for macOS and Windows. Once installed, find the Audio Converter tool within its organized toolkit.
The interface is user-friendly - just drag and drop your file or use the browser to locate it. You can choose from popular output formats like MP3, WAV, and more. If you’re handling a large batch, you can add multiple files simultaneously, making it ideal for converting entire music collections or podcast episodes.
Before starting the conversion, you can tweak key settings. For example, select 320 kbps for high-quality MP3 files or 192 kbps for smaller ones. A 44.1 kHz sampling frequency works well for most standard purposes.
One standout feature of Pimosa is its ability to edit metadata during the conversion. You can update track titles, album names, and artist details without needing a separate tool. Once everything is set, click "convert", and the tool processes your files locally on your computer.
For those seeking more advanced control, Audacity offers a robust alternative.
Using Audacity for Advanced Conversion
While Pimosa focuses on simplicity, Audacity caters to users who need more control over the conversion process. This free, open-source software is packed with professional-grade features and works entirely offline, making it a go-to choice for detailed adjustments and quality preservation.
To get started, import your audio file through the File menu. Once the file is loaded, you can view its waveform, which helps you identify issues like clipping or silence and make any necessary edits before conversion.
When ready, select File > Export and choose your desired format. For MP3 conversions, Audacity offers two encoding options: Constant Bit Rate (CBR) for consistent quality or Variable Bit Rate (VBR) to reduce file size by adjusting bitrates for simpler audio sections.
Audacity also allows you to maintain the original audio quality by preserving bit depth and sampling rate. For instance, if your source file is 24-bit, you can retain this higher bit depth when converting to supported formats. It’s generally best to keep the original sampling rate - changing a 44.1 kHz file to 48 kHz won’t improve quality and may introduce unwanted artifacts.
"You lose always quality when you convert to a lossy codec and you lose never quality when you convert to a lossless codec" – Nadine De Smaele
This underscores the importance of choosing the right format. Converting from WAV to a lossless format like FLAC preserves all the original data, while converting to a lossy format like MP3 results in some data compression that can’t be reversed.
Audacity also offers advanced features like dithering, which reduces quantization noise when converting high-resolution files to CD quality. Additionally, its offline processing ensures privacy and removes concerns about upload limits. The software can manage very large files, limited only by your computer’s available memory and storage.
Both Pimosa and Audacity cater to different needs. Pimosa is perfect for straightforward, user-friendly conversions, while Audacity provides the precision and flexibility that audio professionals often require.
Tips for High-Quality Output
When it comes to ensuring professional-quality audio output, a few key practices can make all the difference. The right settings, preparation, and attention to detail can elevate your results.
Choosing the Right Bitrate and Sample Rate
Bitrate and sample rate are two critical factors in determining audio quality. Bitrate refers to the amount of data processed per second (measured in kbps), while the sample rate measures how many audio samples are captured per second (in kHz). Here’s a quick breakdown:
- For MP3 files, 128 kbps is standard, but 256 kbps or higher achieves near-CD quality. Professional music often uses 1,411 kbps for CDs or 960 kbps for FLAC.
- Podcasts and audiobooks typically sound best at 192 kbps or higher.
- When choosing between Constant Bitrate (CBR) and Variable Bitrate (VBR), CBR ensures a steady data rate, ideal for streaming, while VBR adjusts dynamically to audio complexity, optimizing file size without sacrificing quality.
- Modern codecs like AAC or Opus deliver excellent quality even at lower bitrates.
For sample rates, 44.1 kHz at 16-bit is perfect for CD masters, while 24-bit recordings at 48 or 96 kHz suit most professional needs. Adjust these settings based on your specific content and audience.
| Audio Scenario | Recommended Settings |
|---|---|
| Professional music | 1,411 kbps (CD), 960 kbps (FLAC) |
| Podcasts/Audiobooks | 192 kbps or higher |
| Online meetings | 128 kbps |
| Classical/Jazz music | 256–320 kbps |
| Rock/Pop music | 128–192 kbps |
Most conversion tools let you tweak these settings to balance quality and file size. Once you’ve set your bitrate and sample rate, don’t overlook the importance of metadata.
Keeping Metadata During Conversion
Metadata is the backbone of your audio library, storing details like artist names, album titles, track numbers, and genres. Losing metadata during conversion can lead to a disorganized mess, making it harder to locate or manage your files. To prevent this:
- Use conversion software that automatically preserves metadata.
- Opt for formats like FLAC or WAV, which retain metadata along with the original audio data. BWF (Broadcast Wave File) even supports more detailed metadata than standard WAV files.
- Test a few files before starting a large-scale conversion project to ensure metadata integrity.
By keeping metadata intact, you’ll save time and maintain a well-organized library.
Testing Compatibility with Target Devices
After conversion, it’s essential to confirm that your audio files work seamlessly across the devices your audience will use. Test your files on a variety of platforms, including smartphones, tablets, computers, and smart speakers. Here’s how to ensure compatibility:
- Try different formats (e.g., MP3 at 128 kbps, MP3 at 320 kbps, FLAC) on multiple playback devices to check for clarity and synchronization.
- If your audio is paired with video, verify there’s no latency between the audio and visual elements.
- Test under varying network conditions, particularly for streaming content.
- Gather feedback from your audience to catch issues that technical testing might miss.
Taking the time to test thoroughly ensures your audio performs well, no matter how or where it’s played.
Conclusion
When it comes to audio conversion, finding the right balance between format, quality, and usability is key. Whether you're opting for MP3 for everyday compatibility, WAV for high-quality professional audio, or diving into formats like FLAC and AAC for specific needs, the choice should always align with your project's purpose.
Tools like Pimosa offer simplicity, while apps like Audacity provide more advanced control. Pay attention to bitrates - 192–320 kbps for MP3 strikes a great balance between quality and file size. These settings can make a big difference in ensuring your audio sounds great across various devices. Testing your converted files on different platforms will help guarantee seamless playback for your audience.
Each audio format comes with its own pros and cons. MP3 delivers decent quality with smaller file sizes but sacrifices some audio data during compression, whereas WAV retains pristine sound quality at the cost of much larger file sizes. By experimenting with formats and settings, you can determine what works best for your needs, whether you're producing podcasts, music tracks, or audiobooks.
Start with straightforward settings, tweak as needed, and rely on tools like Pimosa to handle your conversions with precision and ease.
FAQs
What’s the difference between lossy and lossless audio formats, and how does it impact sound quality?
The main distinction between lossy and lossless audio formats comes down to how they handle compression. Lossless formats like FLAC and ALAC retain every detail of the original audio, delivering sound quality that matches the original recording perfectly. These formats are a go-to choice for audiophiles and professionals who prioritize top-notch audio fidelity.
In contrast, lossy formats such as MP3 and AAC achieve smaller file sizes by discarding some audio data during compression. While this makes them easier to store and stream, it can result in a noticeable drop in sound quality, particularly at lower bitrates. For everyday listening or when storage space is tight, lossy formats are often good enough, but they may fall short in settings where high-quality audio is essential.
How can I make sure my converted audio files work on all my devices?
To make sure your converted audio files work smoothly across different devices, stick to popular formats like MP3, which is supported almost everywhere. Choose a constant bitrate (CBR) for better compatibility, and ensure the sample rate matches the specifications of the devices you plan to use. Steer clear of obscure formats that might not work on older hardware.
For extra assurance, try playing your files on various devices after conversion to verify they function properly and maintain their quality.
What should I consider when selecting the best bitrate and sample rate for my audio files?
When deciding on the bitrate and sample rate for your audio files, it’s all about striking the right balance between sound quality and file size, depending on how the audio will be used.
The sample rate, expressed in kilohertz (kHz), determines the range of frequencies the audio captures. Common choices include 44.1 kHz, which is standard for CDs, and 48 kHz, widely used for video. While higher sample rates can enhance sound fidelity, they also lead to larger file sizes.
The bitrate, measured in kilobits per second (kbps), directly impacts audio quality. Higher bitrates like 256 kbps or 320 kbps deliver richer sound but create larger files. On the other hand, lower bitrates, such as 128 kbps, save space but may compromise audio clarity.
When picking the right settings, think about how the audio will be used. For streaming or casual listening, standard sample rates and moderate bitrates strike a good balance. For professional projects or high-quality playback, higher settings ensure greater detail and clarity.