
Reversing a GIF, playing every frame backwards, is one of those effects that looks complicated but takes seconds once you have the right tool. Whether you want a boomerang-style loop, a rewind effect for social media, or just to invert an animated reaction GIF, you do not need to upload your file to a random website and hope it comes back unchanged.
This guide walks through how to reverse a GIF on Mac and Windows using Pimosa, a desktop app that processes files locally. No browser upload, no file size caps from a website, and your GIF never leaves your computer.
Why reverse a GIF?
People reverse GIFs for all kinds of reasons:
- Social media effects, A reversed clip can feel like a boomerang or a dramatic rewind.
- Memes and reactions, Playing a reaction GIF backwards often looks funnier or more surreal.
- Creative projects, Music visuals, presentations, and short-form video sometimes call for inverted motion.
- Fixing export mistakes, If an animation was exported in the wrong direction, reversing is faster than re-rendering from source.
The search query "how to reverse a gif" usually means someone wants clear steps, not a list of sketchy upload sites. Desktop tools solve that directly.
Online GIF reversers vs desktop apps
Online GIF reversers are everywhere. You upload a file, wait, and download the result. That works for tiny GIFs, but it breaks down quickly:
| Approach | Pros | Cons |
|---|---|---|
| Online reverser | No install | Upload limits, privacy concerns, slow for large GIFs |
| Desktop app (Pimosa) | No upload, batch support, works offline | Requires install |
If your GIF is more than a few megabytes, or you need to reverse several files at once, a desktop GIF reverser is the better choice. Pimosa runs the reversal on your machine using your CPU, the same hardware that would be doing the work in a browser tab, but without sending your file across the internet.
What you need
- A Mac or Windows computer
- Pimosa installed (free 3-day trial)
- One or more GIF files to reverse
Pimosa supports standard animated GIF files. If you are starting from a video instead of a GIF, use the GIF Maker tool first to convert video to GIF, then reverse it.
Step-by-step: reverse a GIF in Pimosa
1. Open the Reverse GIF tool
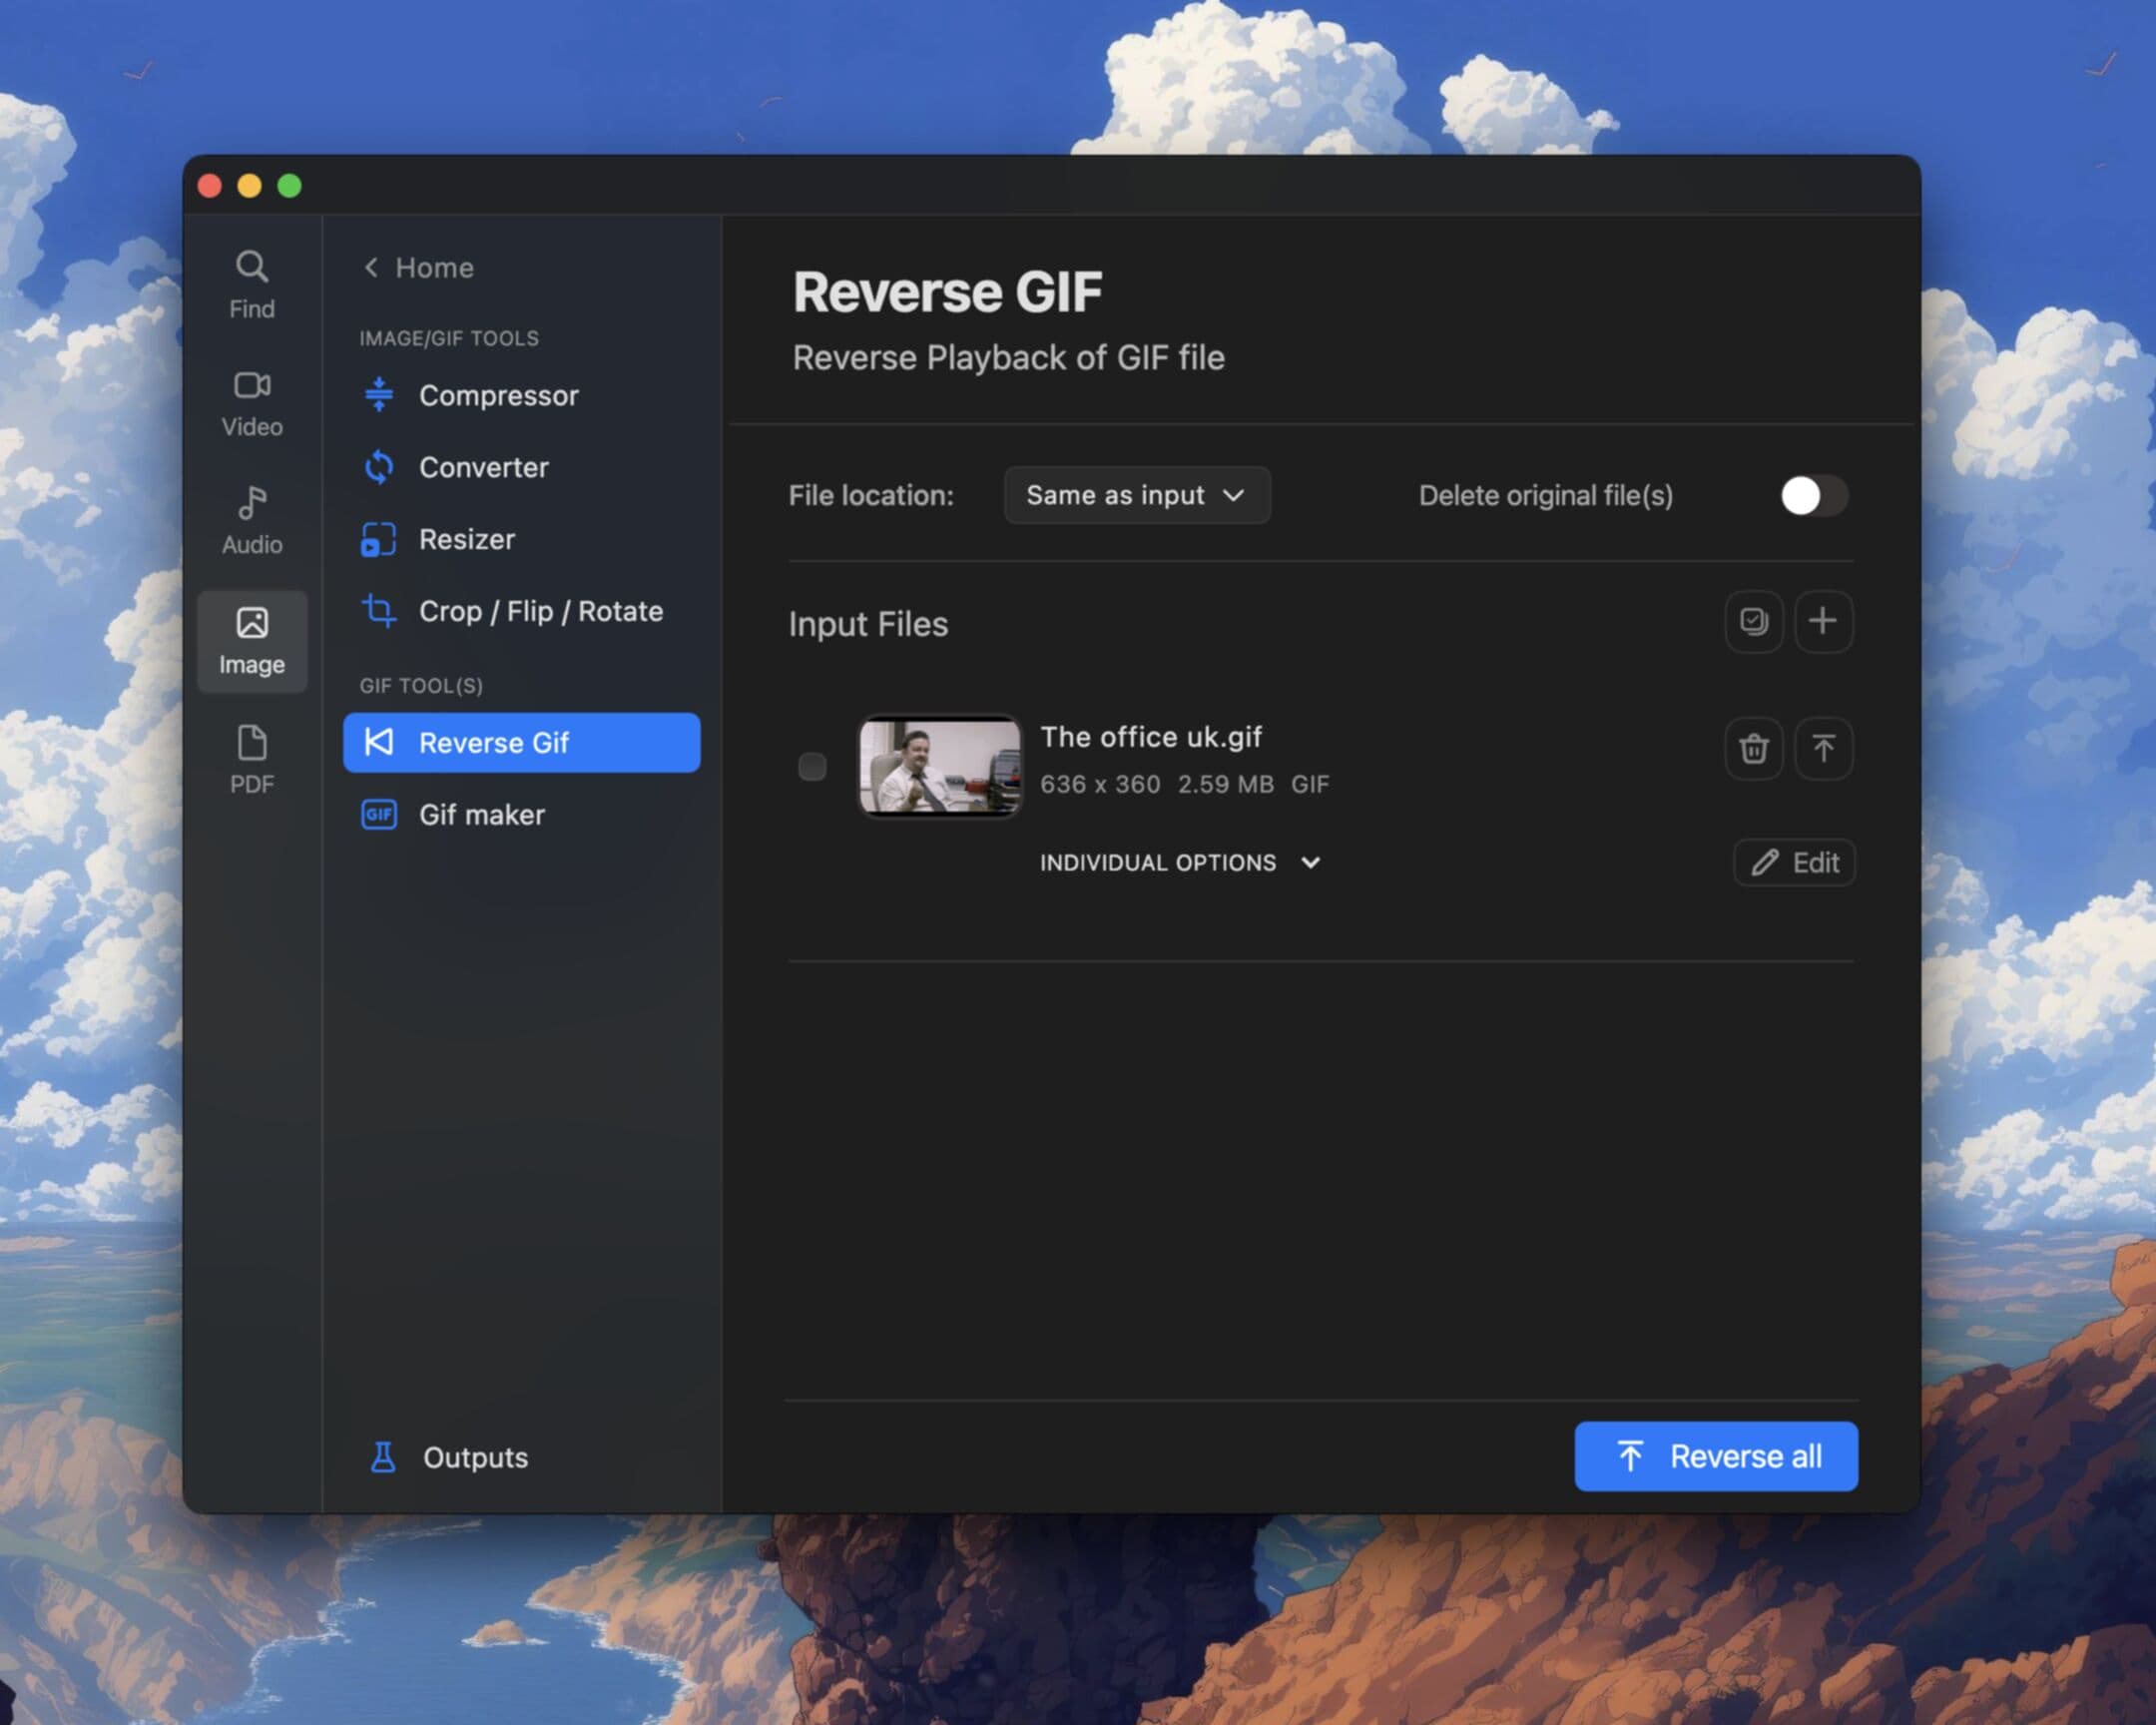
Launch Pimosa and select Reverse GIF from the tool list. This opens the dedicated GIF reversal workspace.
2. Add your GIF file
Drag and drop your GIF into the input area, or click to browse. You can add multiple GIFs if you want to batch reverse them, useful when you have a folder of reaction GIFs to process.
3. Preview the reversed output
Pimosa shows a preview of the reversed animation before you export. Scrub through the frames to confirm the motion looks right. Reversed GIFs sometimes feel faster or slower depending on the original frame timing, check that the loop point is smooth.
4. Export the reversed GIF
Choose your output folder and click export. Pimosa writes the reversed GIF to disk. The original file is untouched.
5. Optional, compress for Discord or web
Reversed GIFs can be slightly larger than the original because frame order changes but compression does not always improve. If the file is too big for Discord (8 MB free tier) or a website, run it through the GIF Compressor tool in the same app.
Tips for smooth reversed playback
Watch the loop point. The first frame of a reversed GIF is the last frame of the original. If the original GIF was not designed to loop seamlessly, the reversed version may have a visible jump.
Keep frame count reasonable. Very long GIFs (hundreds of frames) take more time to process and produce larger files. Trim first if you only need a section reversed.
Batch similar files. If you are reversing a set of GIFs with the same dimensions, batch processing saves clicks.
Combine with other tools. Reverse → compress → done, all in one app without re-uploading between steps.
When not to reverse, alternatives
Sometimes reversing is not what you actually need:
- Mirror/flip, If you want a horizontal flip (mirror image), that is different from reversing frame order. Pimosa's image tools handle flips separately.
- Slow down or speed up, Changing playback speed is not the same as reversing direction.
- Convert video to GIF first, If your source is MP4 or MOV, convert to GIF before reversing.
FAQ
Can I reverse a GIF without losing quality?
Yes. Reversing frame order is a lossless operation, Pimosa does not re-encode frames unless you choose to compress afterward. The pixel data stays the same; only the playback order changes.
Is there a file size limit?
Online tools often cap uploads at 10–50 MB. Pimosa processes files locally, so the limit is your available disk space and RAM, not a website restriction.
Does reversing work on animated WebP?
Pimosa focuses on standard GIF and video formats. For WebP animations, convert to GIF first or check supported formats in the app.
Can I reverse a GIF on Mac and Windows the same way?
Yes. Pimosa uses the same workflow on both platforms. Install from the download page, open Reverse GIF, and follow the steps above.
Ready to reverse your first GIF? Download Pimosa for Mac or Windows and try the Reverse GIF tool free for 3 days, no browser upload required.
Related Pimosa tools
- Reverse GIF
Invert GIF animations offline, no upload limits.
- GIF Maker
Turn video clips into looping GIFs.
- GIF Compressor
Shrink GIFs for Discord and the web without uploading.

Pimosa is your all-in-one desktop toolkit for Mac and Windows with a clean interface and drag-and-drop simplicity, and your files never leave your device.
- No upload limits. Process large files locally
- Works fully offline after install
- multiple tools for video, photo, audio, and PDF files
- Batch processing on Mac and Windows
- User-friendly interface with drag-and-drop simplicity
- Also on iPhone: essential video and image tools to save storage